How To Put a Tail Bag on a Horse
A tail bag is a device that can protect a horse’s tail from dirt, dust, tangles, and breakage. It can also help a horse grow a longer and thicker tail by preventing damage and promoting growth. A tail bag can be made of various materials such as fabric, nylon, or fleece, and can have different designs such as tubes, socks, or ties. A tail bag can be bought from a tack store or online, or it can be made at home with some simple materials and steps. This article will explain how to put a tail bag on a horse based on some research and data from online sources.
The first step to put a tail bag on a horse is to wash the horse’s tail with shampoo and water. This will remove any dirt, dust, or debris that can cause irritation or infection to the horse’s skin or hair. Washing the horse’s tail will also make it easier to brush and braid later. The horse’s tail should be rinsed thoroughly and dried with a towel or a hair dryer.
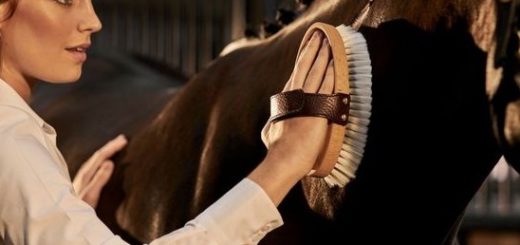
The second step to put a tail bag on a horse is to brush out the horse’s tail and let it dry completely. This will remove any tangles or knots that can cause pain or damage to the horse’s hair. Brushing the horse’s tail will also make it smoother and shinier. The horse’s tail should be brushed from the bottom to the top, starting with small sections and working up to larger ones.
The third step to put a tail bag on a horse is to find the end of the tail bone. This is the part of the tail that has bones and muscles, and it is usually located near the base of the dock. The end of the tail bone can be felt by running a hand along the underside of the tail until a bump is felt. The end of the tail bone is where the braid should start.
The fourth step to put a tail bag on a horse is to braid down the tail as far as possible. This will secure the hair and prevent it from slipping out of the tail bag. The braid can be done in different ways such as a simple three-strand braid, a French braid, or a fishtail braid. The braid should be tight but not too tight that it causes discomfort or restricts blood flow to the tail. The braid should be secured with an elastic band or a rubber band at the end.
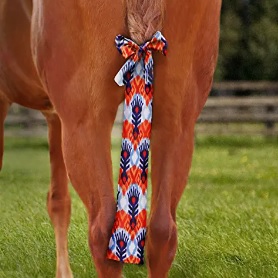
The fifth step to put a tail bag on a horse is to insert the braid into the tail bag. This will protect the hair from dirt, dust, tangles, and breakage. The tail bag should be chosen according to the size and length of the horse’s tail, and it should have an opening at one end and a closure at the other end. The opening of the tail bag should be placed over the end of the braid and slid up until it covers most of the braid.
The sixth step to put a tail bag on a horse is to pull the bag up to the base of the tail bone, where the braid starts. This will ensure that the bag stays in place and does not slide down or fall off. The closure of the tail bag should be fastened around the base of the braid with ties, snaps, or velcro. The closure should be snug but not too tight that it causes discomfort or restricts blood flow to the tail.
The seventh step to put a tail bag on a horse is to check that the bag is comfortable and secure for the horse. This will prevent any problems such as rubbing, chafing, irritation, or infection that can harm the horse’s skin or hair. The bag should not be too long or too short for the horse’s tail, and it should not interfere with the horse’s movement or balance. The bag should also be checked regularly for any signs of wear and tear, dirt, dust, or moisture that can damage the bag or the hair.
In conclusion we can say that putting a tail bag on a horse can be done with some simple steps and materials. A tail bag can help protect a horse’s tail from debris and damage. It can also help a horse grow a longer and thicker tail by preventing damage and promoting growth. A tail bag can be bought from a tack store or online, or it can be made at home with some simple materials and steps. A tail bag can be beneficial for both the horse and the owner.