10 tips for a first horseback riding lesson
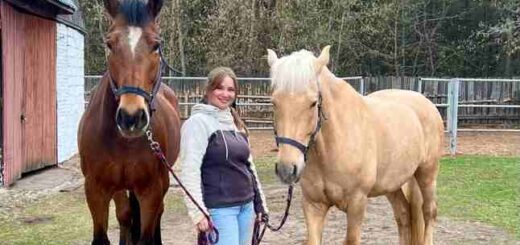
When it comes to your first ever horseback riding lesson there are 10 tips which could help you to start easily. If you decided to be a new equestrian and already found a riding instructor or teaching stable (riding school), be aware that it is extremely important to be prepared for your first horseback riding lesson in terms of clothes and behavior around horses.
- Prepare suitable clothes for a horseback riding lesson. You should have special riding boots and a helmet which is very important for your safety.

You should wear shoes that are sturdy and with a hard sole, a hard toe, and a definite heel. The hard sole will let your foot slide in and out of the stirrup easily. This is very critical safety feature. The hard toe protects the foot, just in case a horse steps on it and the heel keeps the foot from sliding all the way through the stirrup and getting caught. Be aware that sneakers for horseback riding are a very poorly choice. The rubber sole, especially with the deep crevices that many of them have, can get caught on the stirrup. The soft toe offers no real protection against heavy and powerful hoofs, and there is no heel to stop the foot from accidentally sliding all the way through the stirrup.
2. Your riding pants should be long enough that your bare legs don’t get rubbed raw by the saddle or stirrup leathers. Traditional jeans are a pretty suitable choice, but they should not be very tight that welt seams cause irritating marks. Sweat pants and Lycra tights are not good items to wear for your first horseback riding lesson because they tend to be slippery, and you will slide around in the saddle even more than you are likely to do at first, anyway.

3. Buy a riding hat, also called sometimes as a schooling helmet, with a strap that fastens under your chin. Check beforehand to make sure, but some riding schools will provide one for you for additional fee, at least for the first few lessons. A riding helmet will protect your head during a fall, and no rider should be allowed to ride a horse without one.
4. If it is cold weather add some outerwear like jacket or wool pullover. But bear in mind that these items should allow for plenty of upper body movement. You don’t want any of your clothing to be too restricting and snug.
5. In your first horse riding lesson you will learn how to get on the horse, hold the reins correctly, and shorten them as needed. While standing still, you may learn how to steer the horse left and right by gently pulling on the left rein and then the right. And under the control of the riding instructor, and likely still with the horse attached to a lead line, you will probably walk a short distance and then halt, several times.

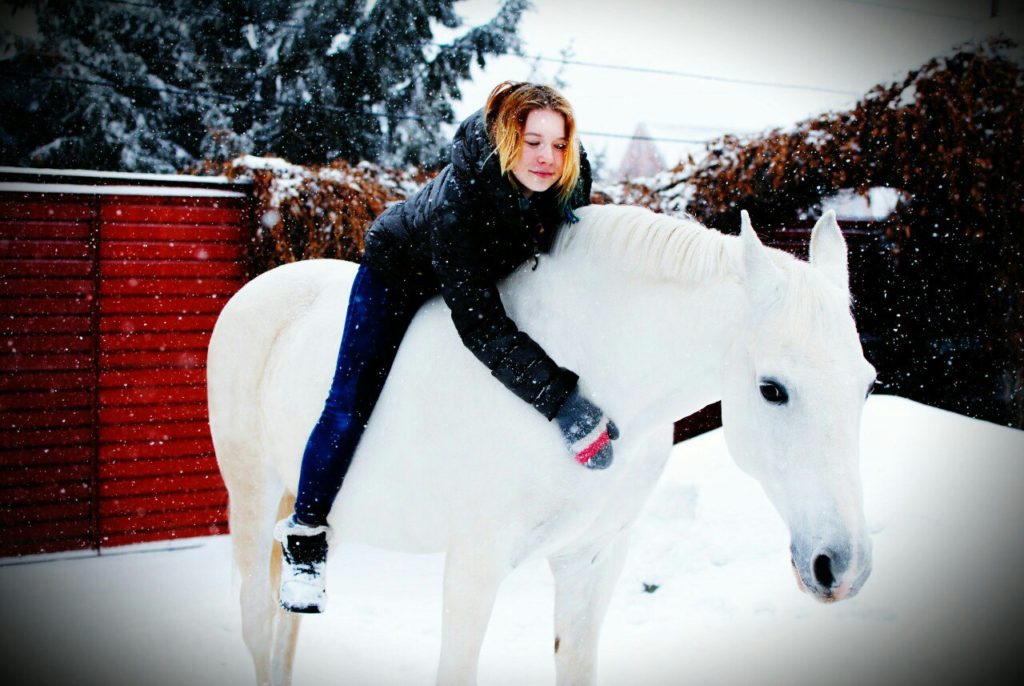
6. Be ready to learn in your first horseback riding lesson how to get on and off the horse and how to sit on a horse comfortably. Be aware that your first horseback riding lesson will be probably on bareback or on a bareback pad. This is very important. Although starting your lesson in the saddle might look easier and safer, starting on a bareback pad with a instructor controlling a horse is the easiest way for your body to get comfortable and learn to relax. After learning this, moving to the saddle and stirrups will be super easy. There are several ways to mount without a saddle depending on the size of the horse and rider and the equipment available. The basic challenge is getting your body high enough so that you can bring your leg easily across the horse’s back. The first method, if there is no mounting block or if the horse is too tall for you to use the available block alone, involves the instructor assisting you by giving you a leg on. The second and simplest method is with a high mounting block. The most important things during both mounting and dismounting are to maintain your balance and grounding and to stay centered over the horse as long as possible throughout the process.

The mane is the neck hair of a horse
7. Don’t be afraid to hold the mane when necessary. The mane is the hair that grows from the top of the neck of a horse. So the horse does not find it painful to have his mane pulled on so don’t be scared you are not causing any pain to horse when holding his mane. So using it as a handle to help you with mounting and dismounting, as well as with your balance when riding, is entirely acceptable and much better than losing your balance and pulling on the reins instead. Your thumbs must point upward toward the mane rather than try to grasp the horse’s neck. If they are pointing sideways or down, it is all too easy to sprain them as your hands rotate during the dismount. Your right hand will be somewhere near the top of the withers and your left hand farther up the horse’s neck. The goal is to find a position that you can keep throughout, since it is essential not to let go. The horse doesn’t have any handles anywhere else, and saddles can turn if pulled hard enough.
8. Prepare to learn how to dismount safely. While mounting, either bareback or into the saddle, is complicated for beginners, dismounting is much easier. Just have a firm, correct grip with both hands on the mane, or the mane and saddle, and hold on as long as you can. This is because if you’re holding on with your hands, you cannot go off headfirst, which is the most dangerous way to fall. The second thing is to stay centered and balanced either over the horse or over your feet throughout the dismount. First, take a firm grip of the mane with both hands and dwing your right foot forward. Start swinging it back, bending your knee, and at the same time lean forward over your hands. Pivot your whole body to the right while staying centered over the horse’s back. Wiggle your toes to relax your feet and ankles. Let go with your hands.
9. Learn how to feel comfortable on the horse.First of all, hold the mane, or the grounding strap if there is one, with at least one hand at all times. This makes you feel much more secure and makes it easier for you to relax your lower body. Second, shake out your lower legs. It’s a little different when you’re sitting on the horse. Lift one knee up and away from the horse just a little, and swing your foot forward so it’s hanging straight. Shake out each arm one at a time, holding on with the other hand. Keeping your back straight, sway backward a little with your center, letting your arms stretch as much as necessary.

10. Learn to sit correctly right from the start.
So the way you sit on a horse—which starts with the way your seat connects to the horse’s back—is basic to whether you ride badly or well. At first the instructor should steady you with a hand on your lower thigh as the horse starts and as you make turns, which in this lesson will be only to the left because left turns are easier. Once the horse is walking smoothly, think about what the movement of his back feels like under your seat bones. Some people feel it as up and down, some forward and back, and some side to side. Think about your seat bone being stuck to the pad as the horse’s back moves underneath you. Then just allow his back to lift you up and gravity to bring you down again; that is, don’t make any muscular effort to follow the movement. The pressure should be constant—the same all the time. Keep your eyes very soft and lift gently on the strap to help you stay grounded.

Remember that the first horseback riding lesson is much too early to tell anything about most of your riding abilities. It usually takes a few lessons (3-5) to see how fast you begin to pick things up and learn to control a horse without an instructor. Also don’t panic if you feel that riding lessons which by the way could be a good therapy are difficult for you, because some people are quick learners initially and then reach a plateau. Others are slow to start but later seem to grasp things much faster.